Ear Cleaning Tips for Dogs
As a dog owner, it is important to know the basics when it comes to hygiene! Often, the ears get neglected and this is never a good thing. Good, thorough ear cleanings may be necessary more frequently. Keep in mind that there are many different types of ears which may accumulate dirt and debris more frequently. In addition, other dogs may suffer from food or environmental allergies which may cause inflammation of the ears. Unfortunately, this may cause infection and/or pain. This article will help you learn about how to tell when your dog’s ears need cleaned, the proper cleaning supplies involved, and best practices during the procedure.
There are many things to look for to determine when your dog’s ears need to be cleaned. It may be as easy as your dog shaking their head or rubbing on their ears. Also, if your dog’s ears are dirty or infected, you may notice a foul or pungent smell when they are standing near you. It is good to know that normal ear canals have a light pink color and are free of debris and dirt. Dirty or infected ears may have a red color which can indicate inflammation. Be sure to look out for signs of infection – yellow discharge.
The good thing is that you only need a few supplies for cleaning your dog’s ears. Be sure that you are using a good ear cleaner that is made specifically for dogs. Use cotton balls or gauze squares to clean the insides of the ears. It is important that you take the process slow! Failure to do so may result in an injury to your dog’s ear canal. Have a towel nearby so that you can use it for cleanup after the procedure. Do not use hydrogen peroxide or rubbing alcohol as cleaning agents as they may cause inflammation in the ears.
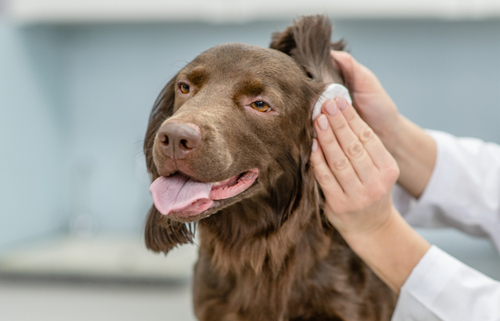
To get started with the ear cleaning, have your dog sit close to you. It is best that you have someone nearby to distract your dog as this will make the process a lot easier. Gently pull the ear pinna upward and squeeze the solution into the ear canal. Use a cotton ball or gauze to wipe debris from the inside of the ear. You may allow your dog to shake their head so that debris from the horizontal canal may come up to the vertical canal for easier cleaning. Repeat these same steps for the opposite ear. Please stop the procedure immediately if your dog appears to be in pain or they are too anxious to go through the cleaning. If this happens, you may need to contact your veterinarian for professional cleaning services.
Ear cleaning is an important skill which will require a lot of patience and consistency. Your dog may be anxious so please avoid getting upset with them. This process takes a lot of practice, positive reinforcement, and treats! Knowing how to do so can not only help prevent ear infections but ensure that your dog is as healthy as they can be.


